
The 35-Minute Show: A Lenticular Cloud Sunset Worth Waiting For
The best colors came long after the sun disappeared - a reminder that patience is a photographer's most underrated skill.
The best colors came long after the sun disappeared - a reminder that patience is a photographer's most underrated skill.
Tamale Festival returns April 18, Adobe historic designation, Fairmount Park input today...

This year's "Todos Juntos" theme marks the first festival since the Trujillo Adobe was added to the National Register of Historic Places.
The best colors came long after the sun disappeared - a reminder that patience is a photographer's most underrated skill.

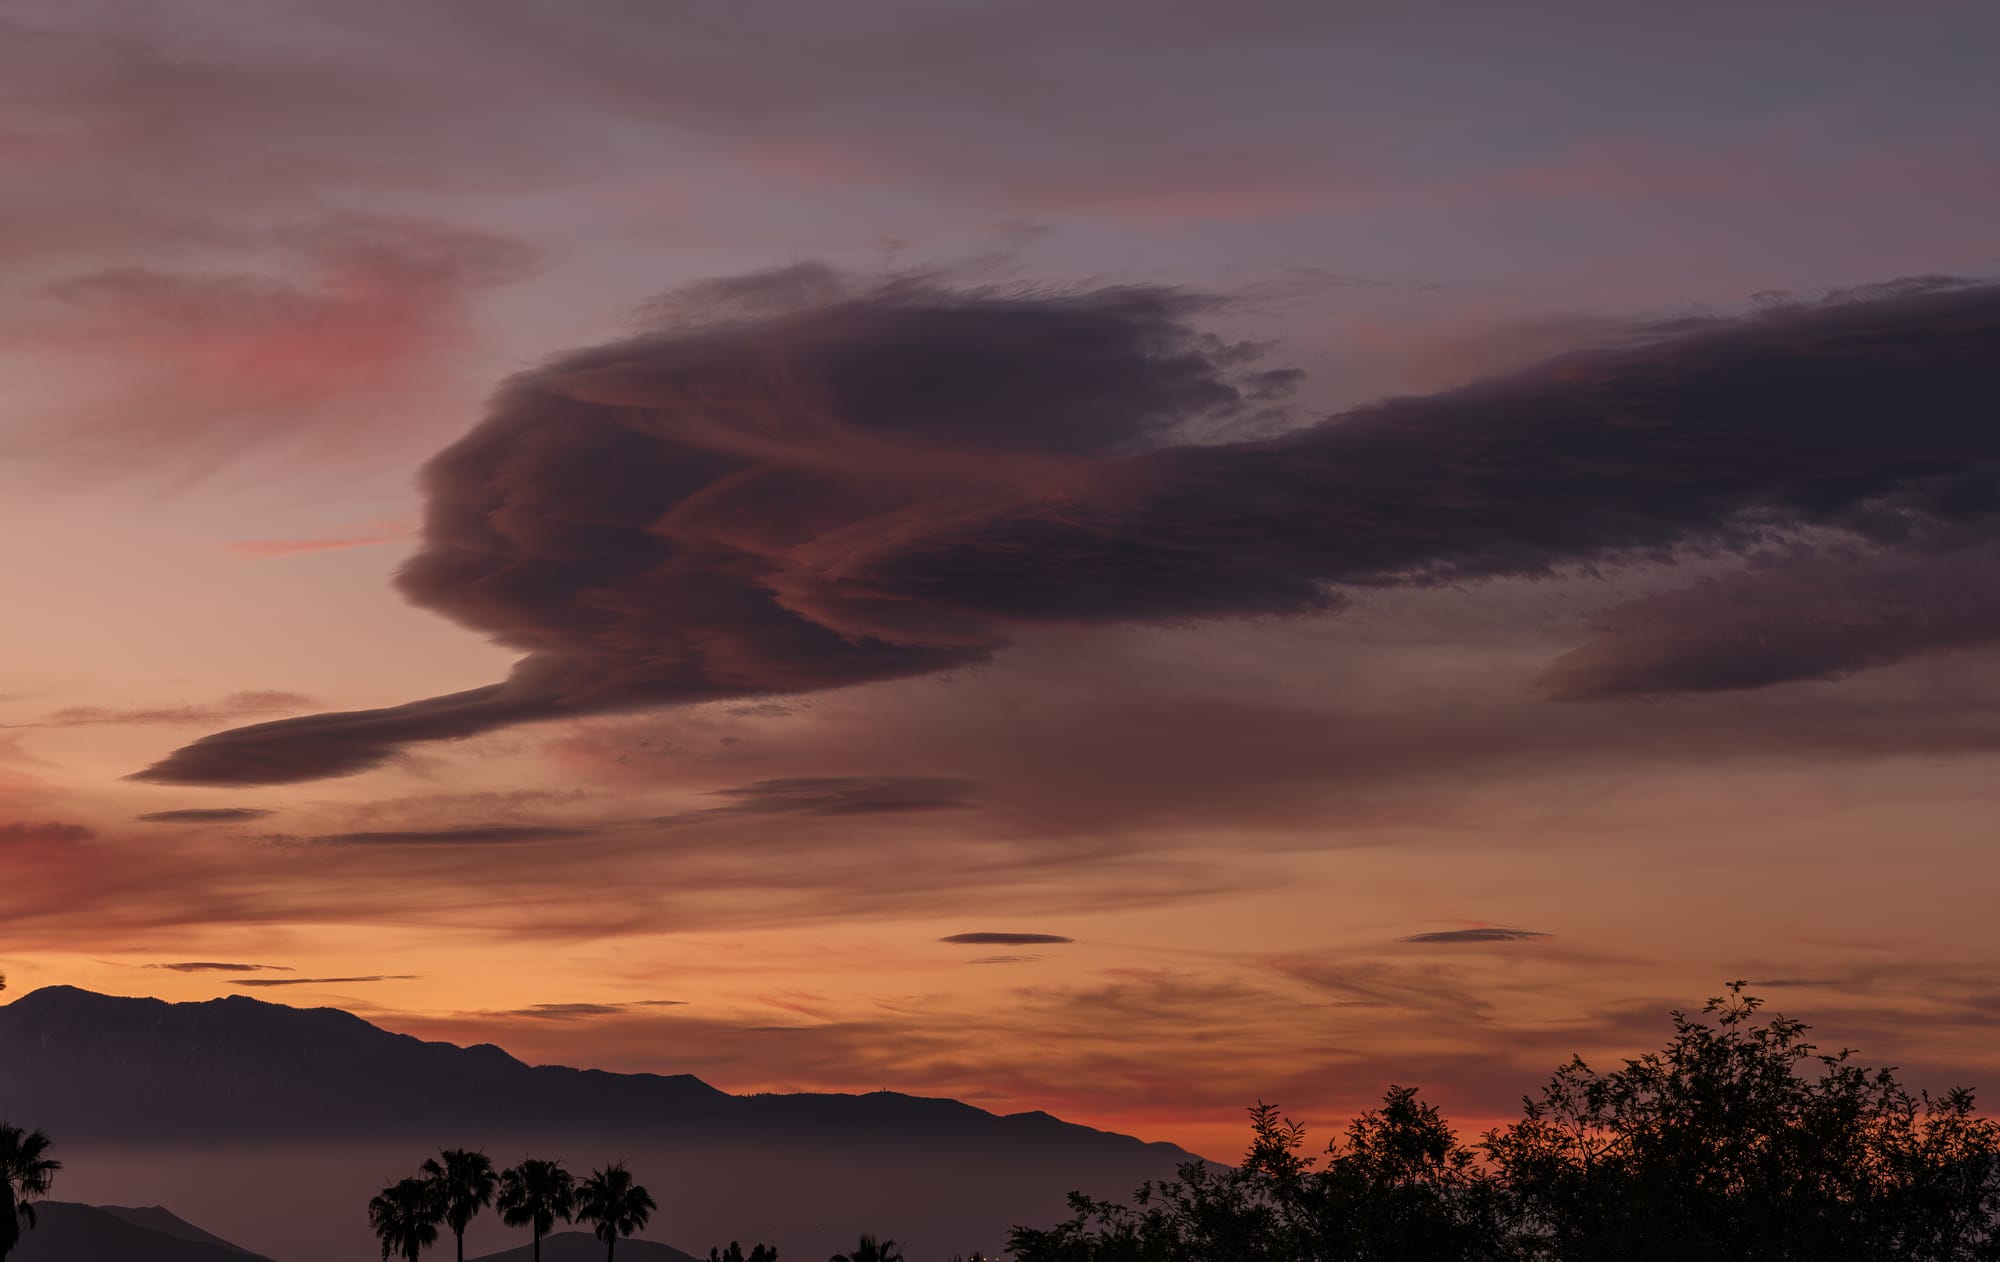
Lenticular clouds don't show up every day. They require a specific combination of stable, moist air and terrain to force it upward — typically a mountain peak or ridge — creating a smooth, lens-shaped formation that hovers in place while the wind passes through it. So when one appears in the late afternoon with sunset approaching, that's your cue. Drop what you're doing, grab your camera, and get ready.
I spotted this one parked over the San Gabriels with about ten minutes of daylight left, and I committed to staying through the entire show. Over the next 35 minutes — from ten minutes before sunset to twenty-five minutes after — the slow-building display confirmed something I've learned: the photographer who commits the time and stays gets the shot.
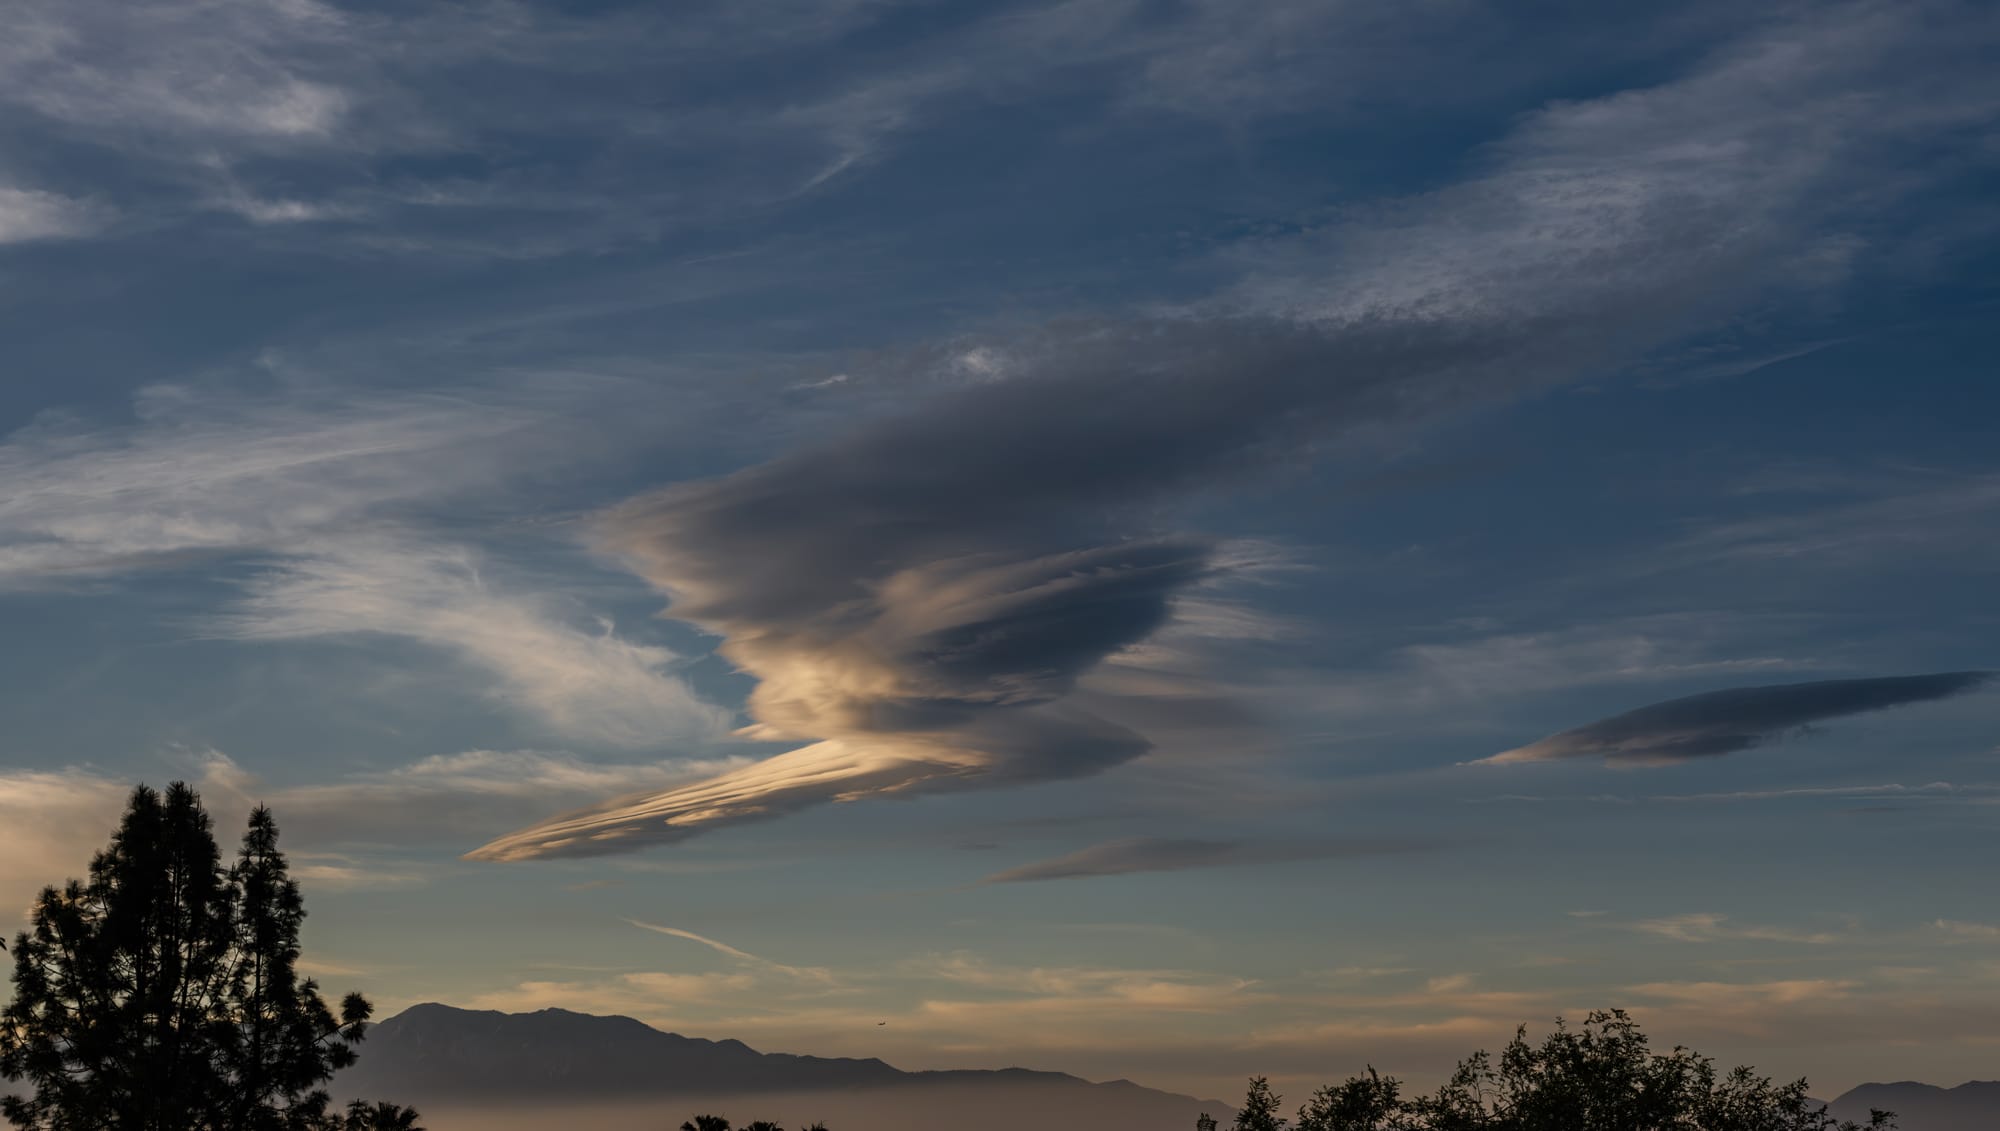
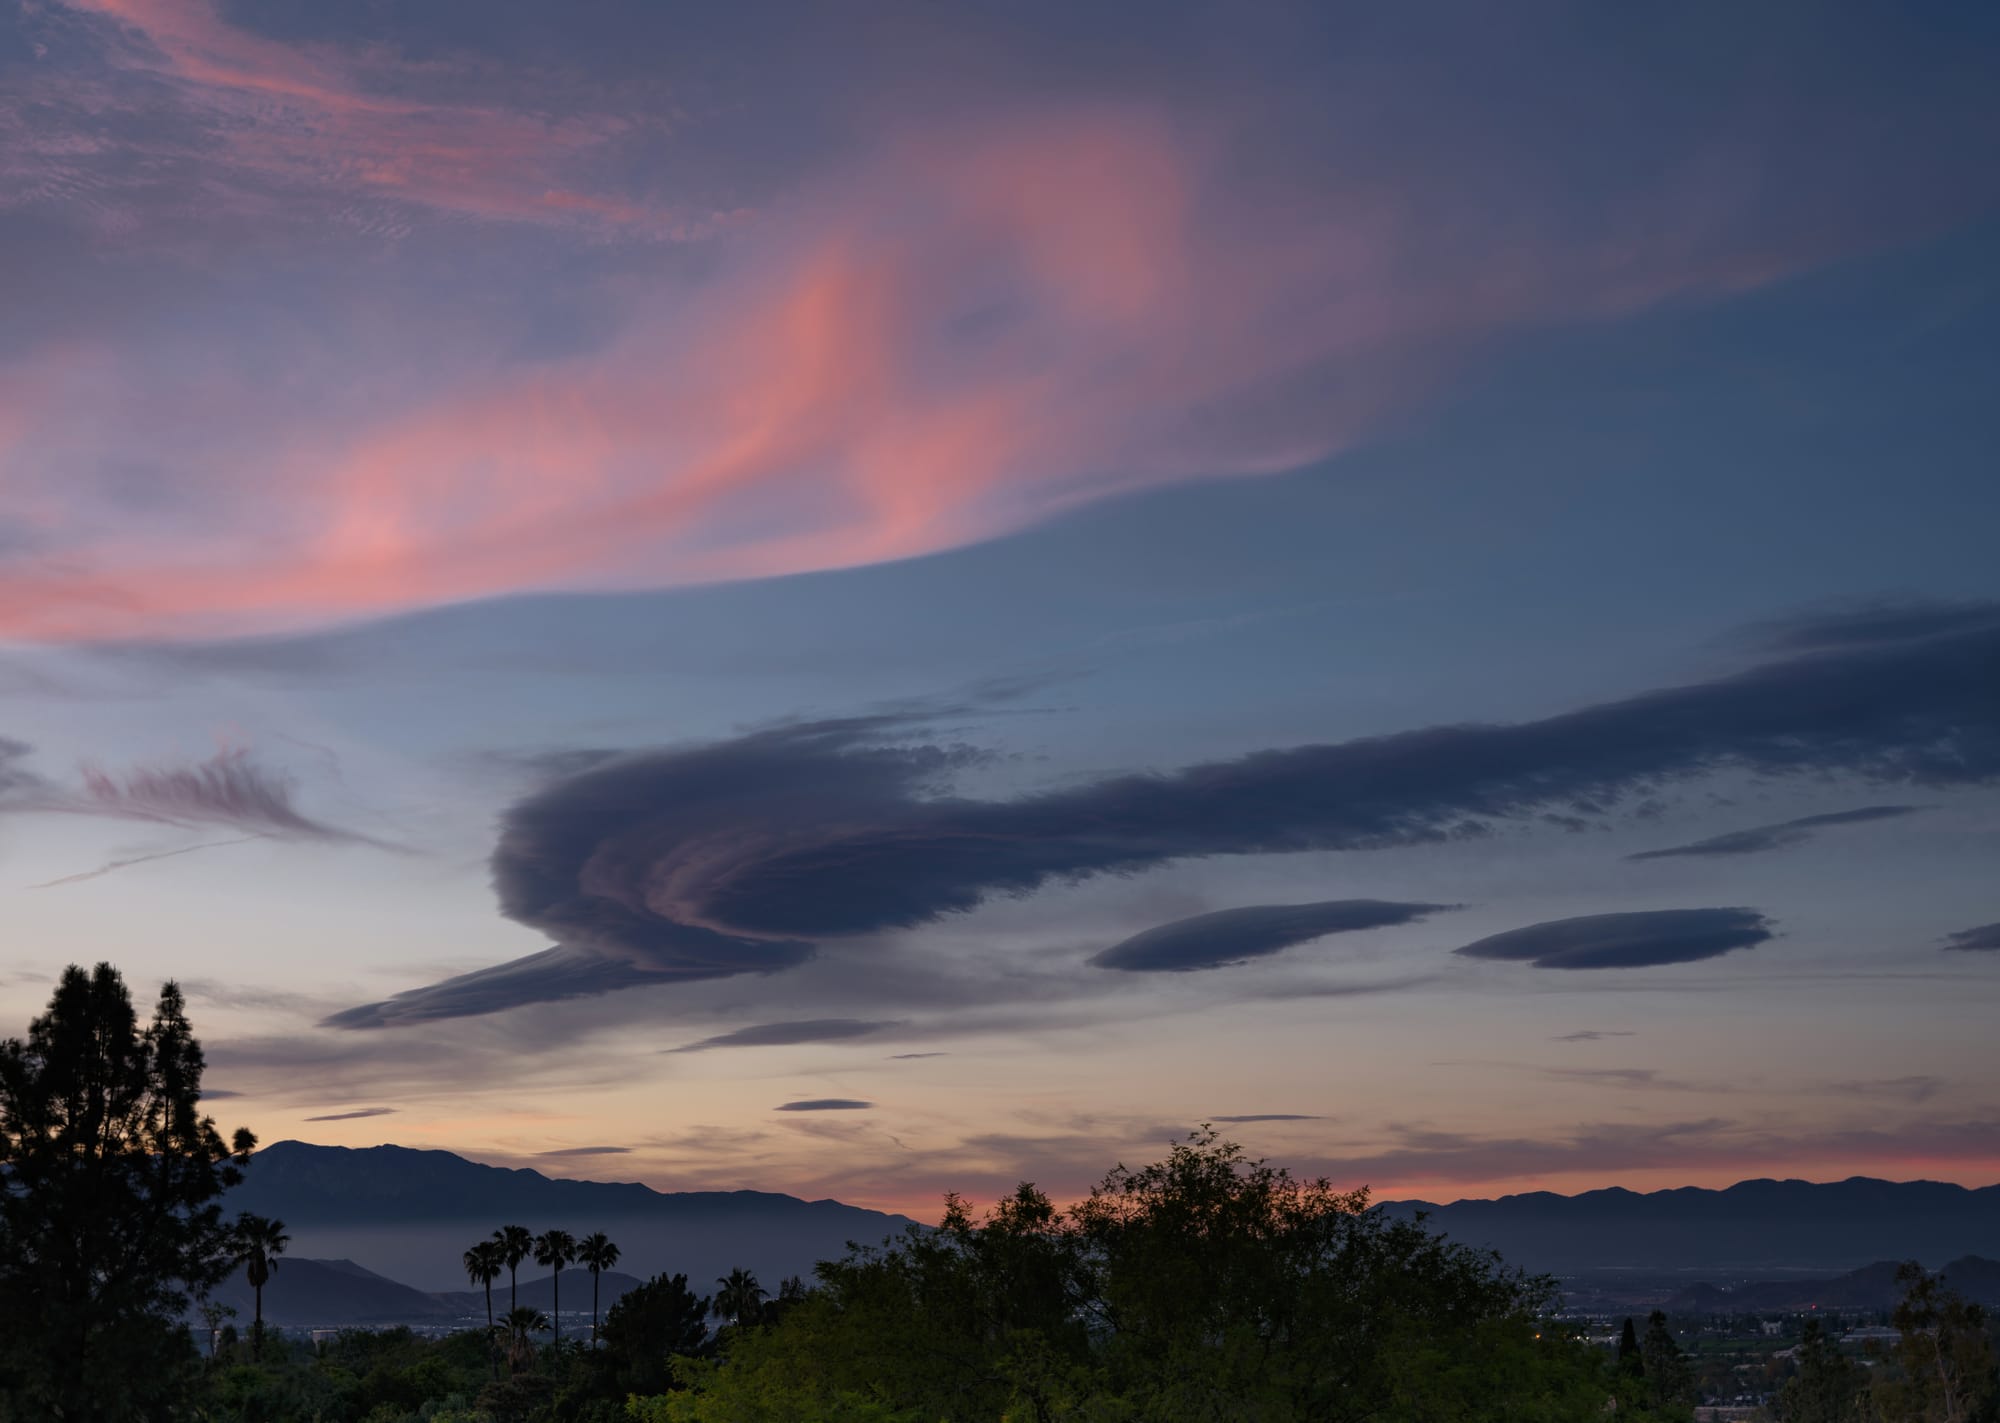
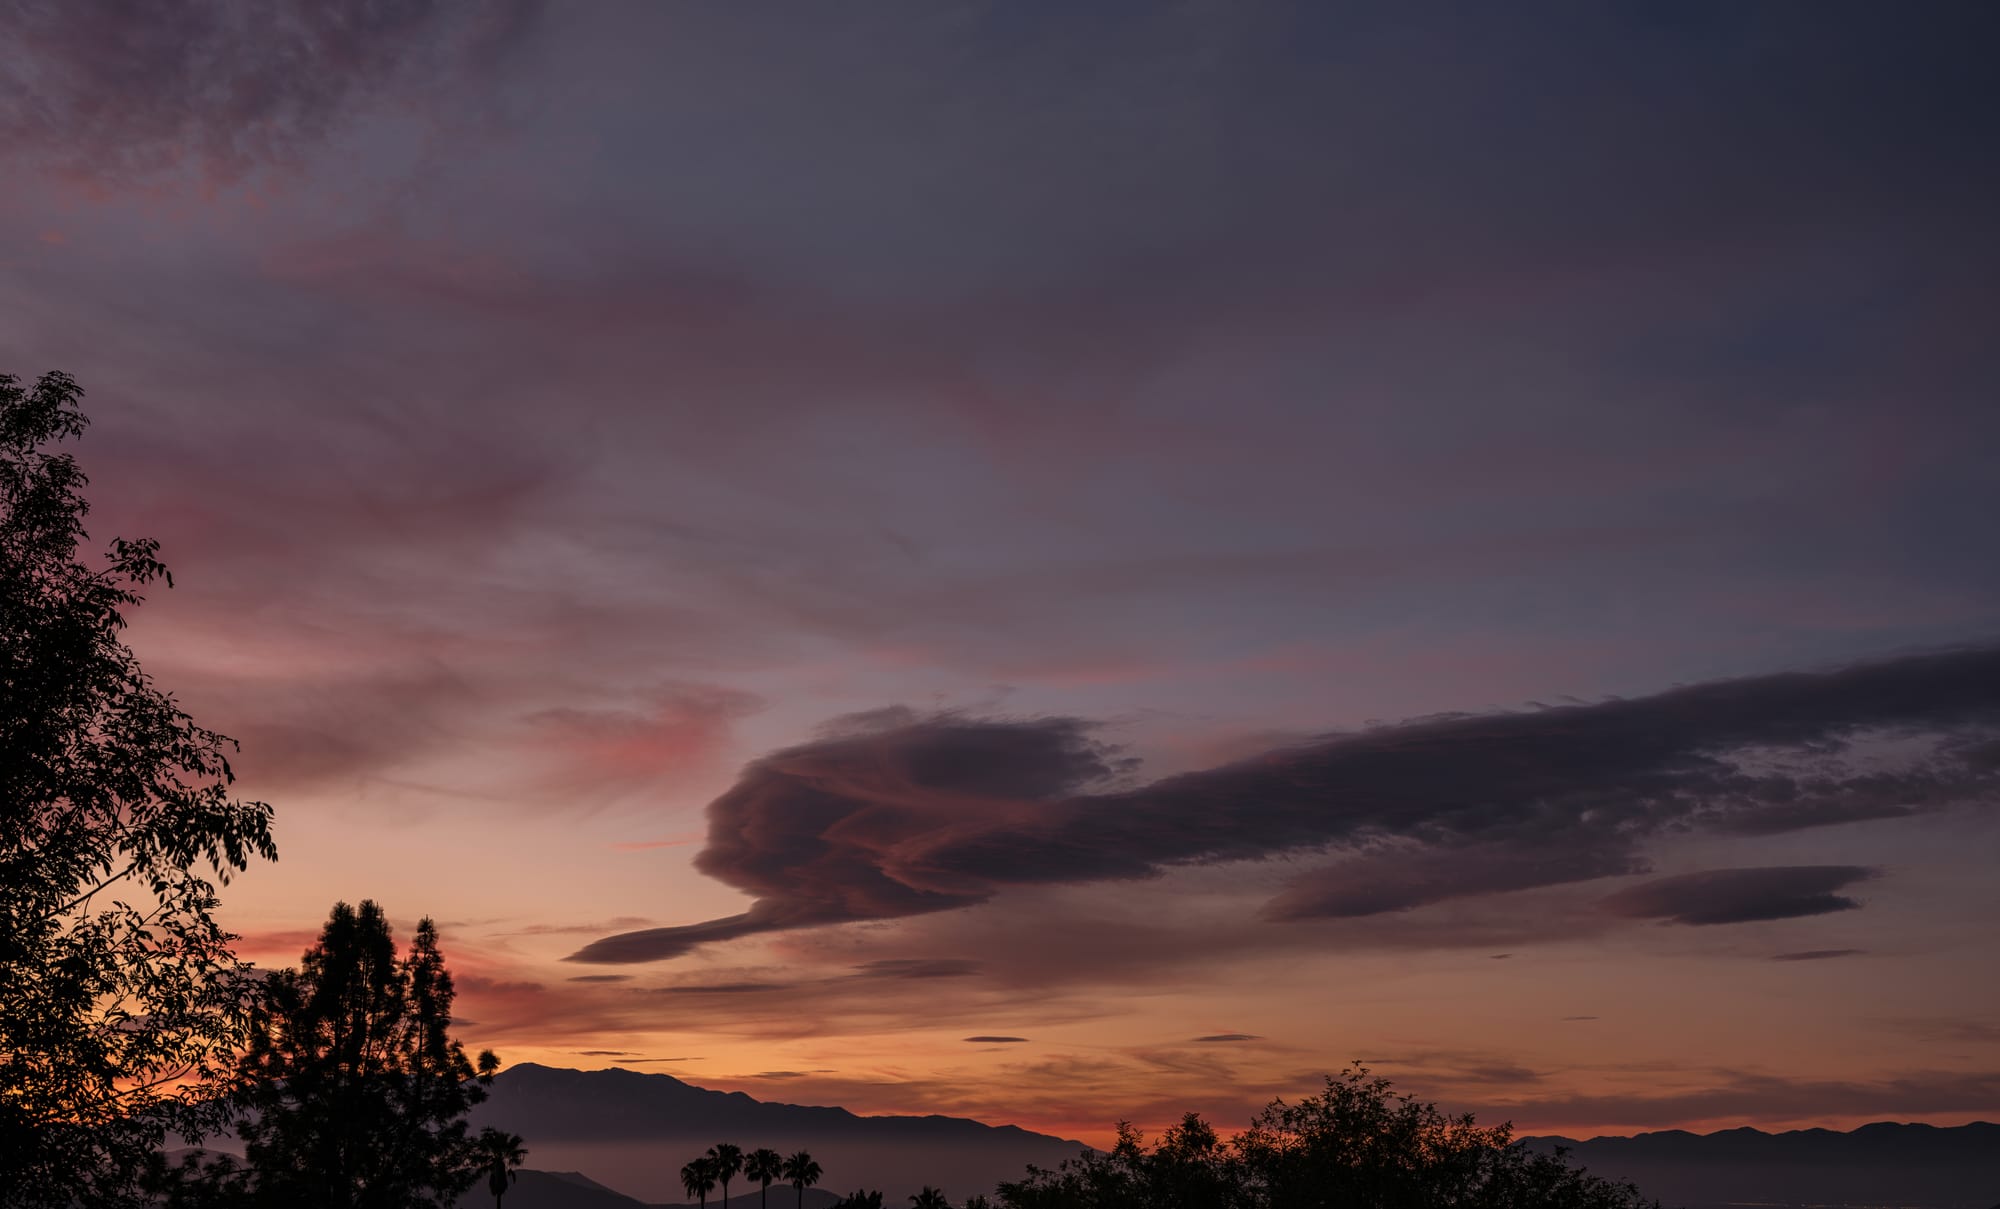
Ten minutes before sundown, the scene was understated. The lenticular's layered structure sat in muted silver. Nearby clouds at scattered elevations carried the faintest hints of peach — easy to overlook, easy to walk away from. But the best was yet to come. This formation reminded me of the Starship Enterprise.
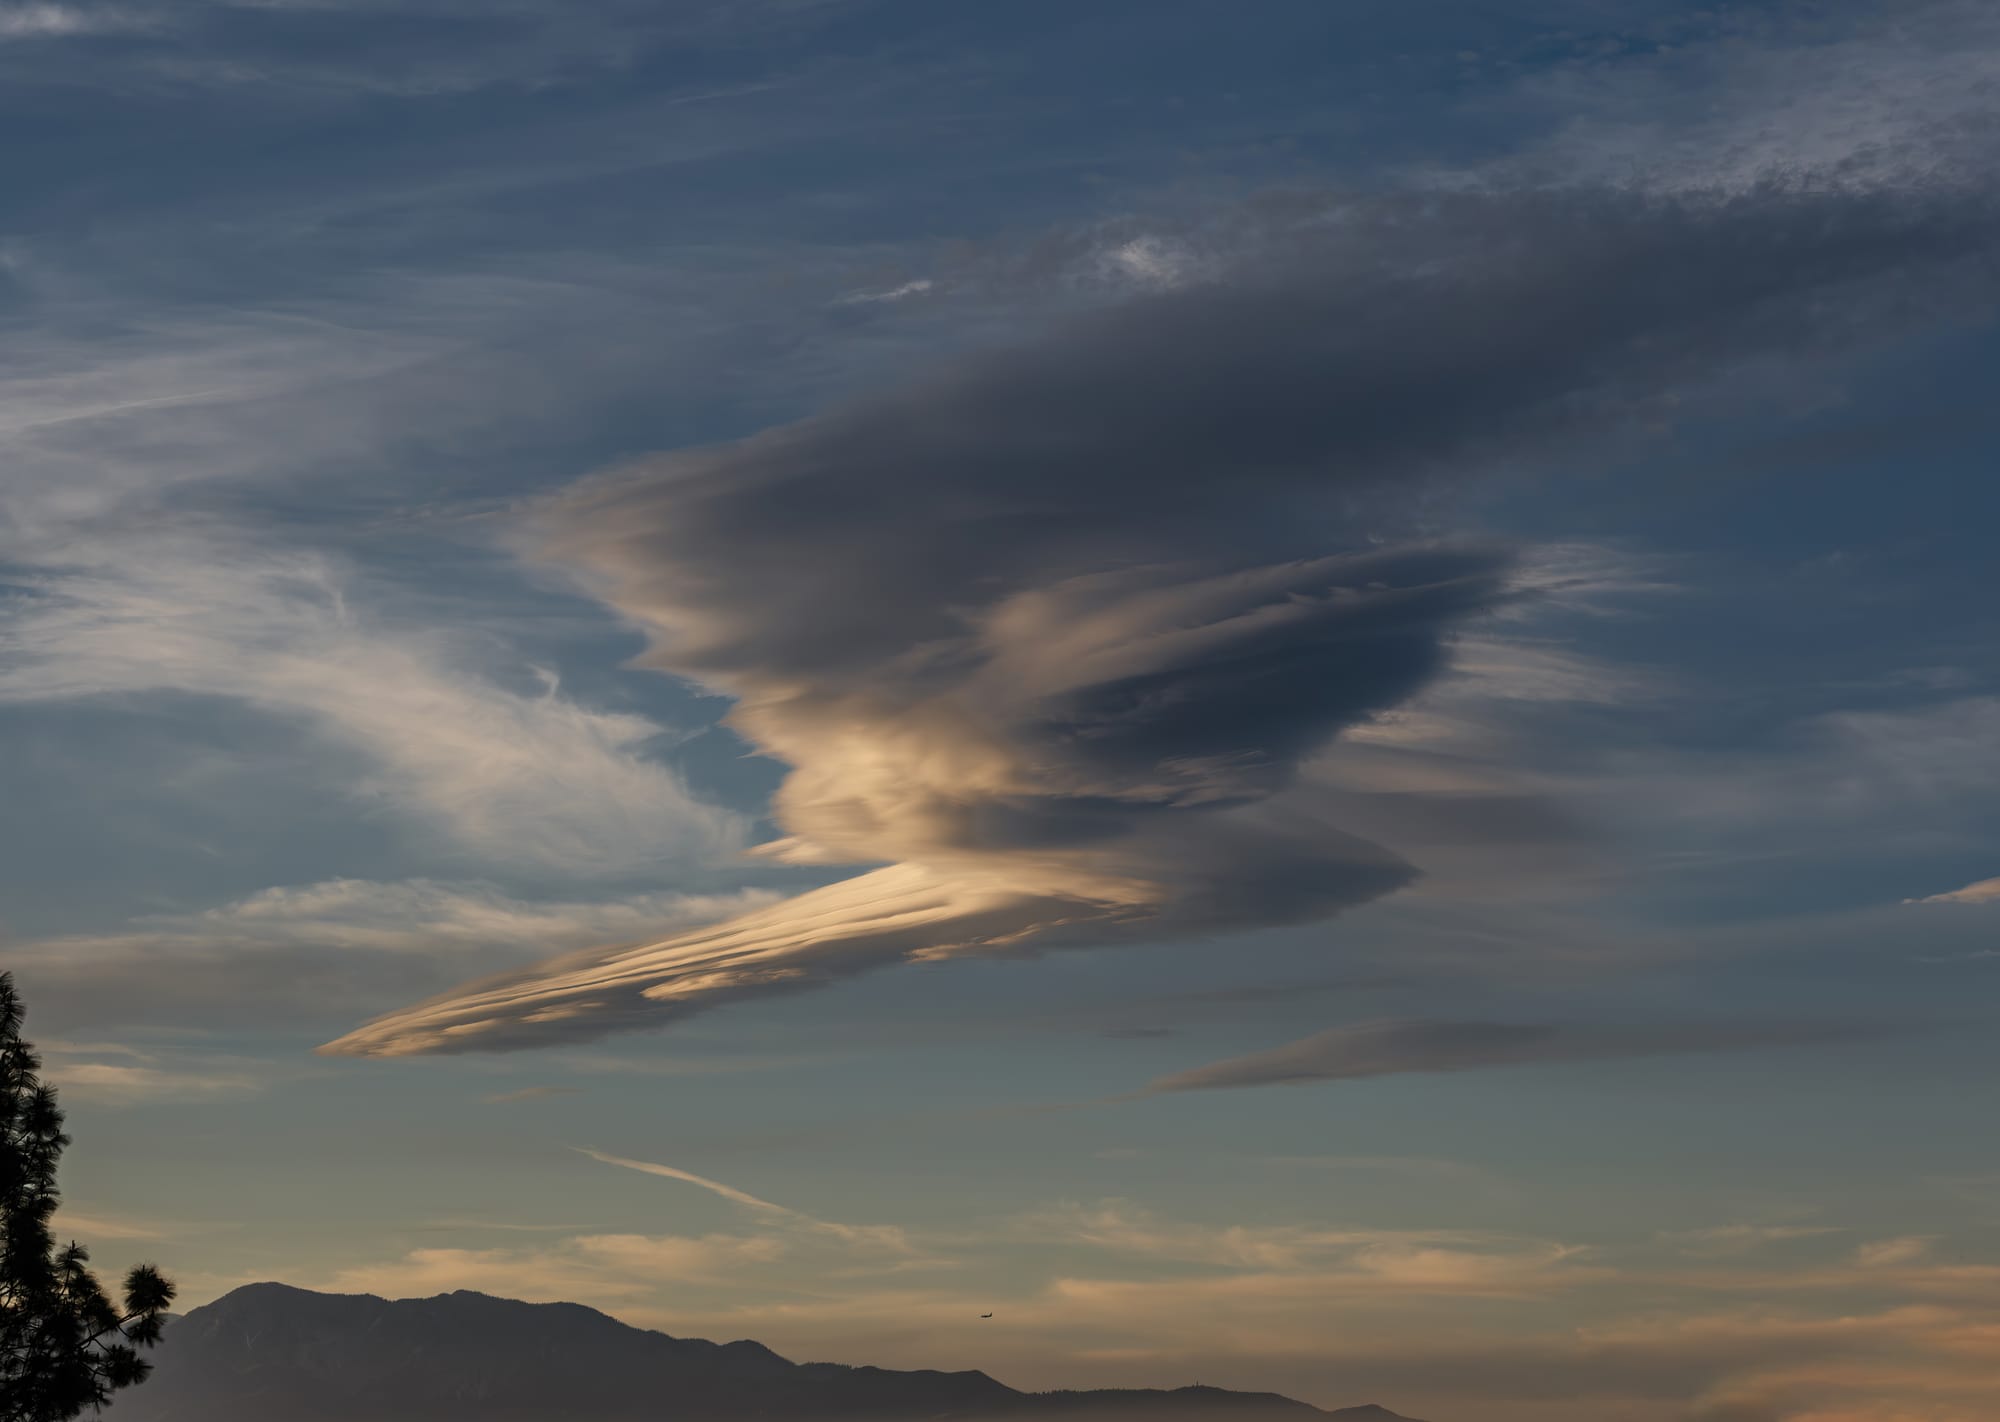
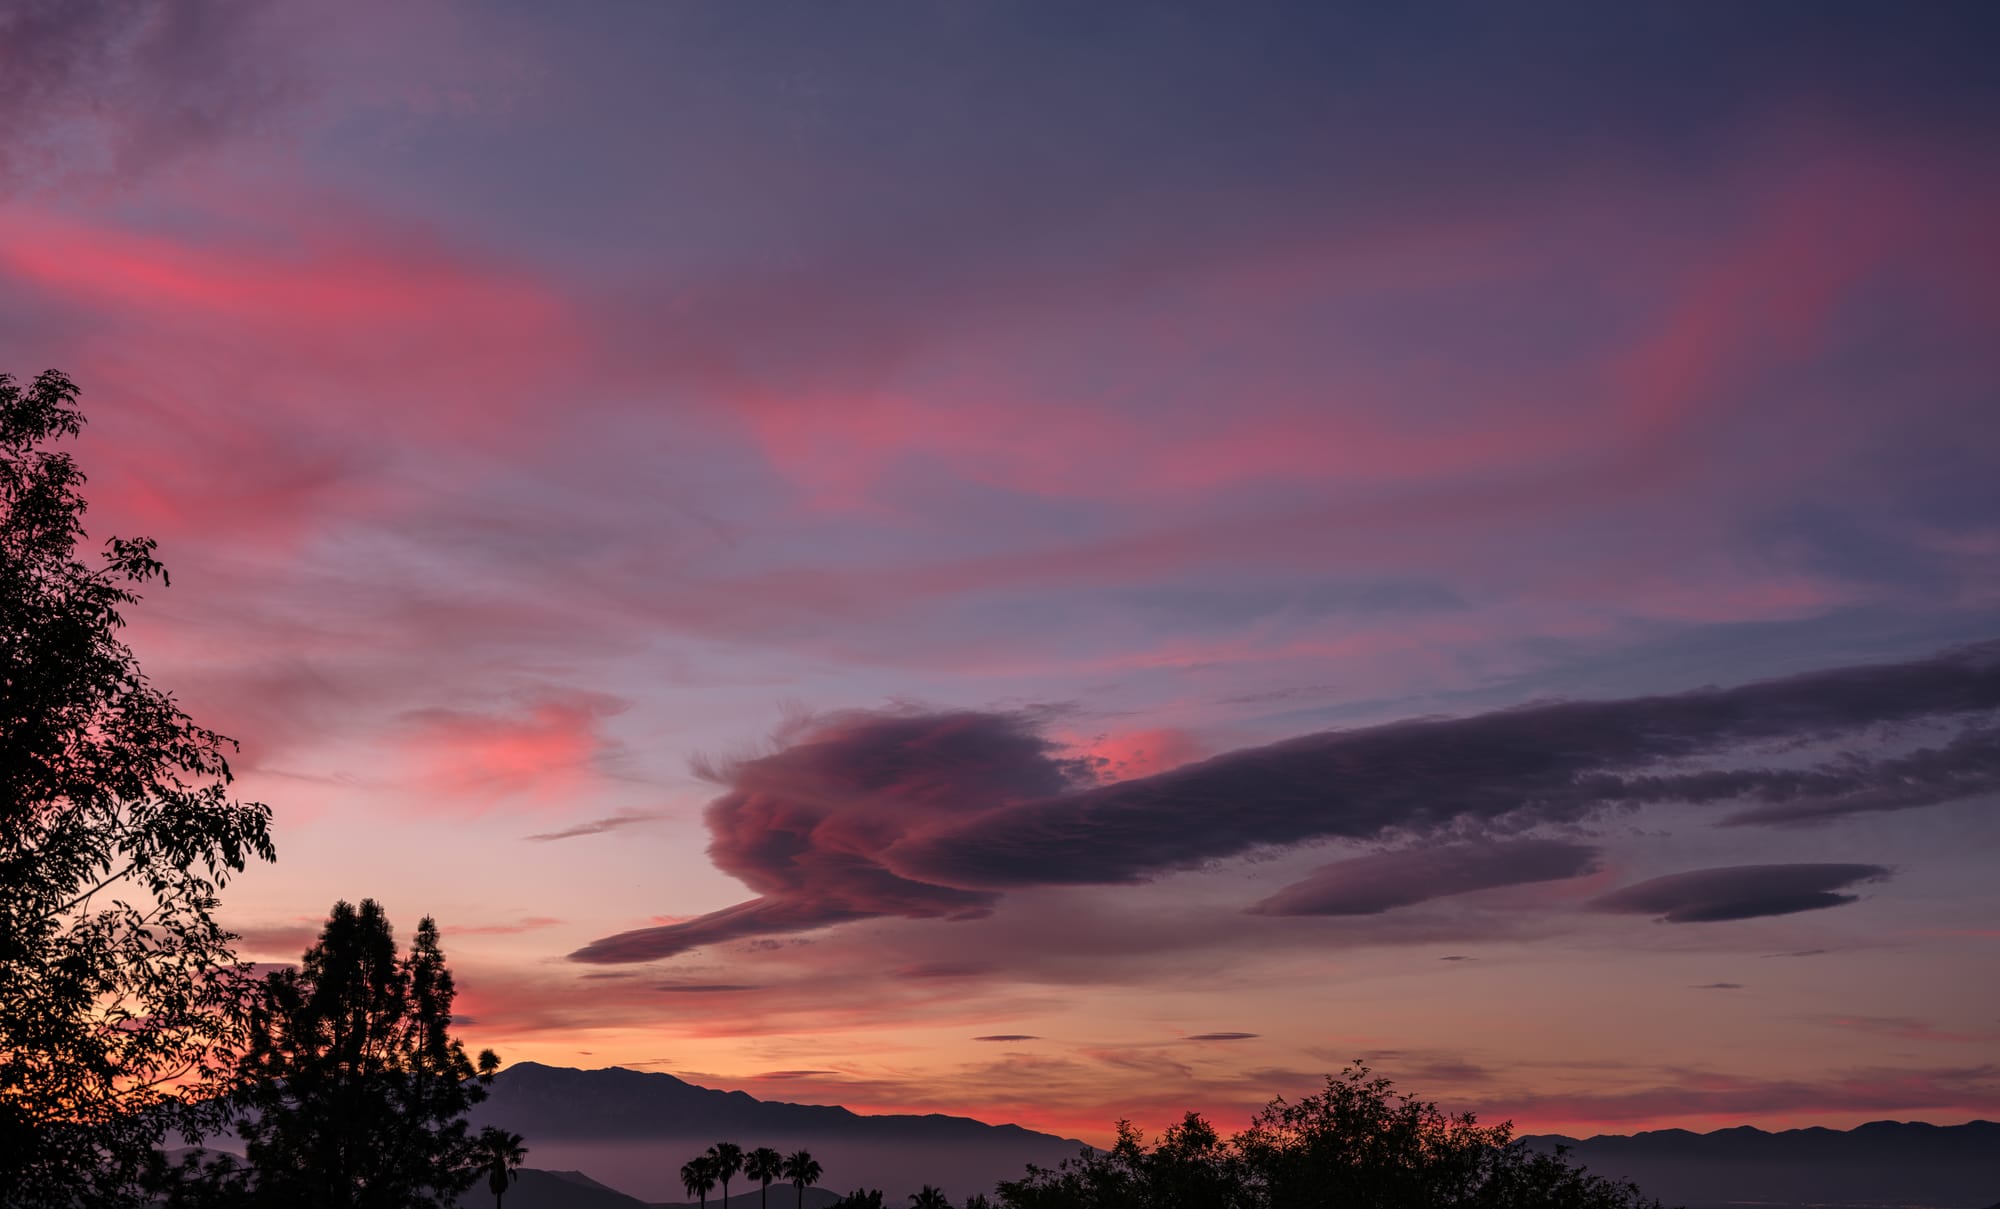
At sunset, the palette warmed quickly. The lenticular shifted into warmer tones while clouds close to the mountains picked up soft pinks and light orange. A good moment, and the point where most people would call it done.
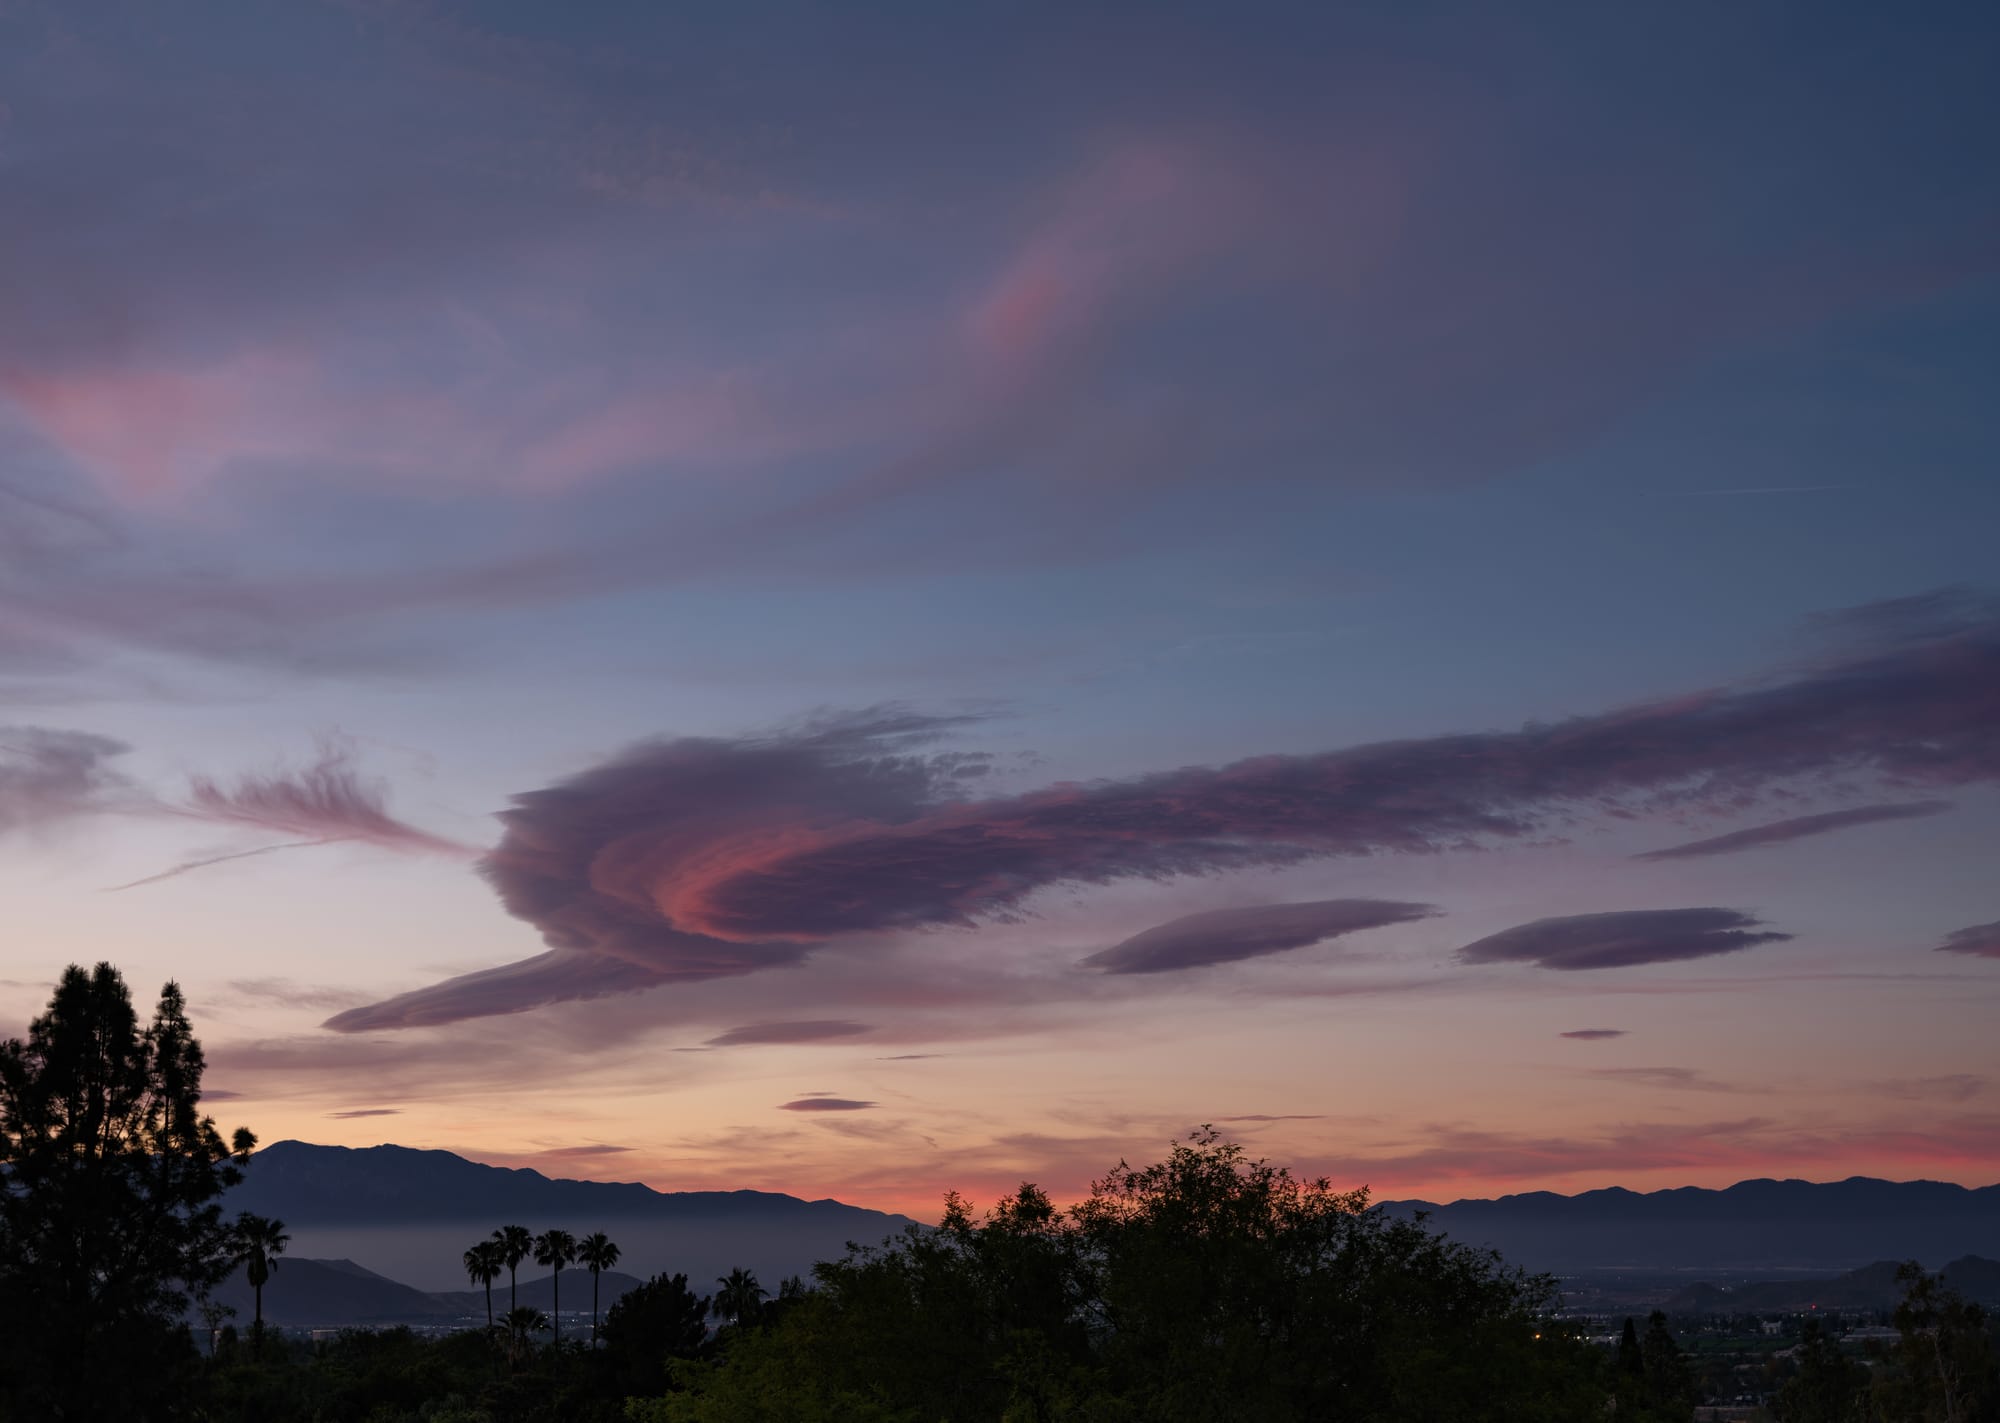
Soft pinks illuminated the surrounding clouds while the lenticular itself went a layered grey, the rays of light almost ignoring it.
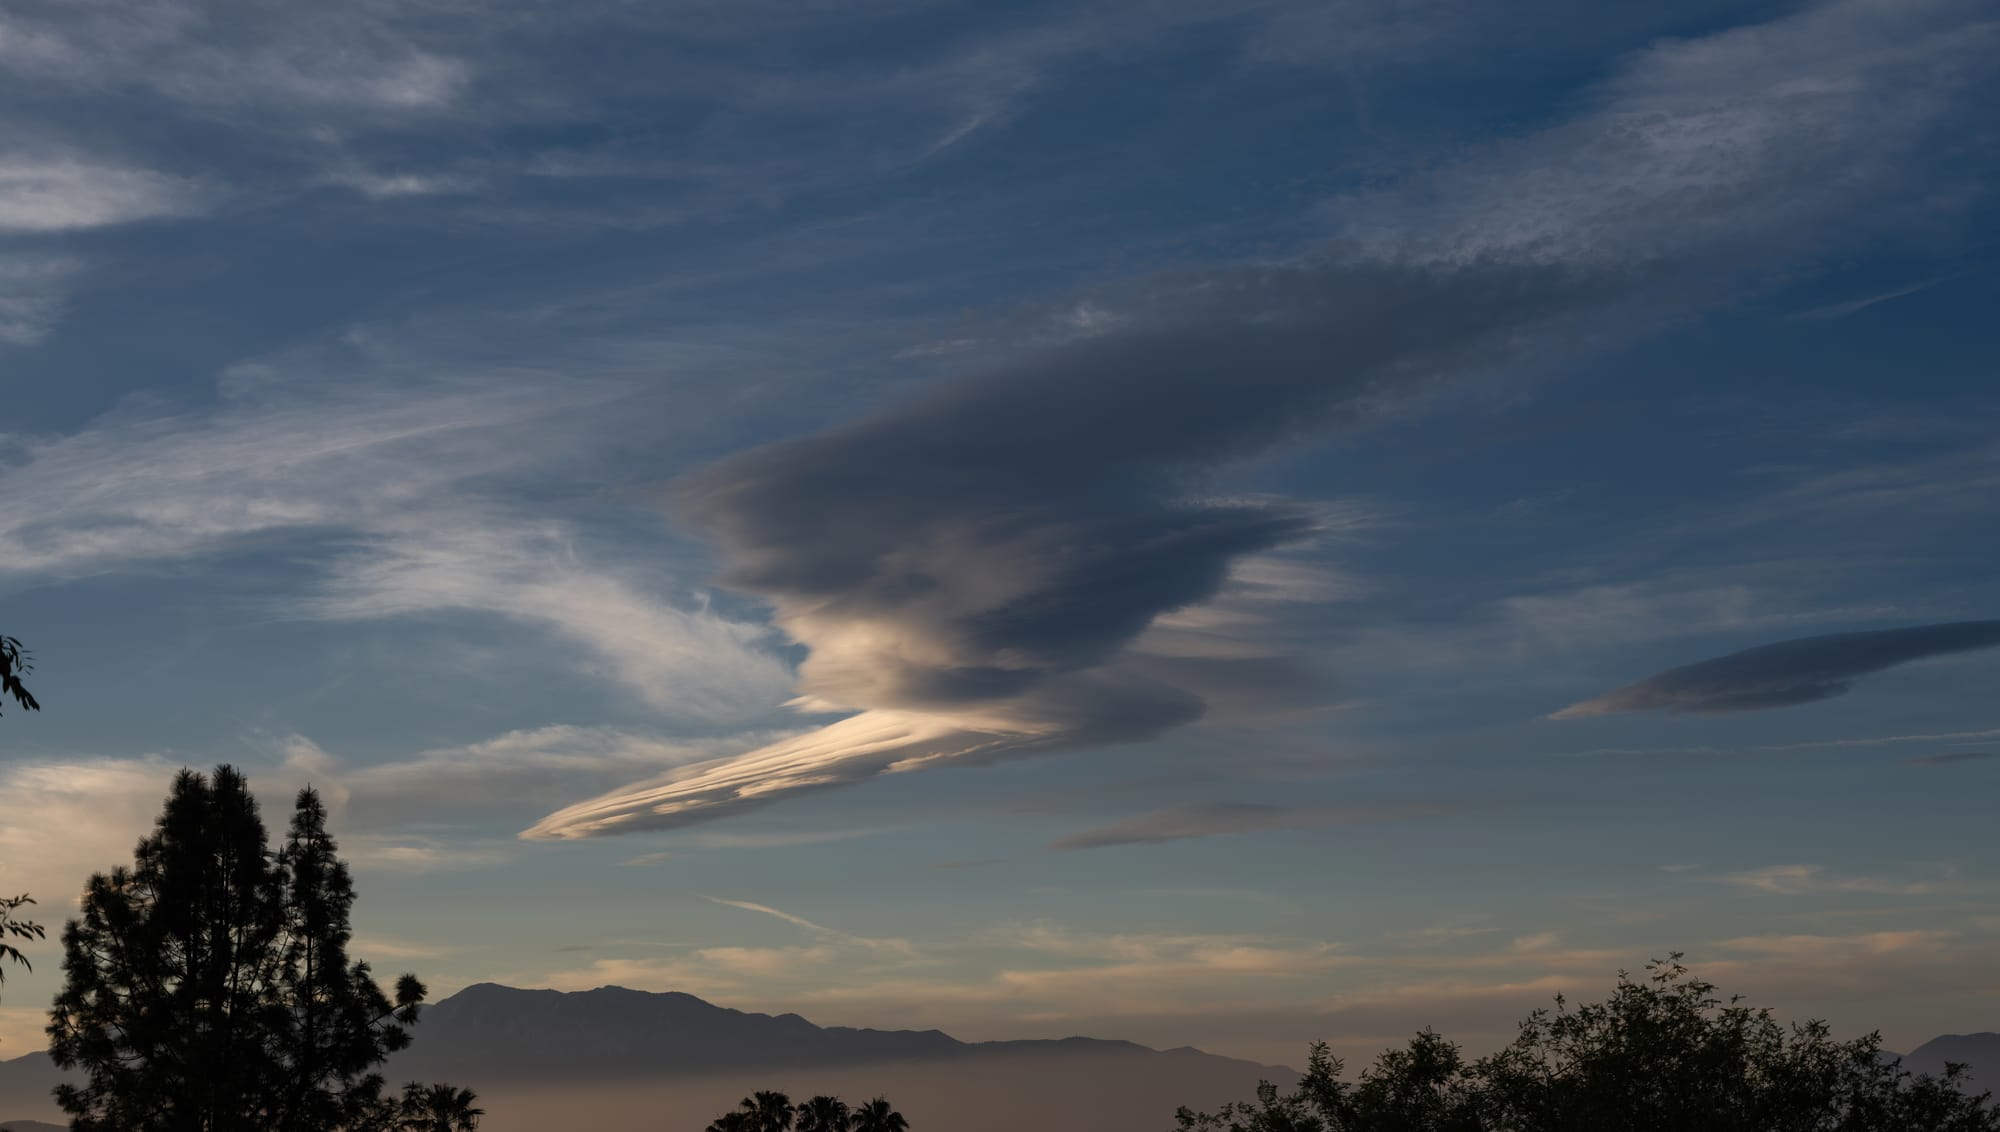
I kept shooting. The real show was still coming.
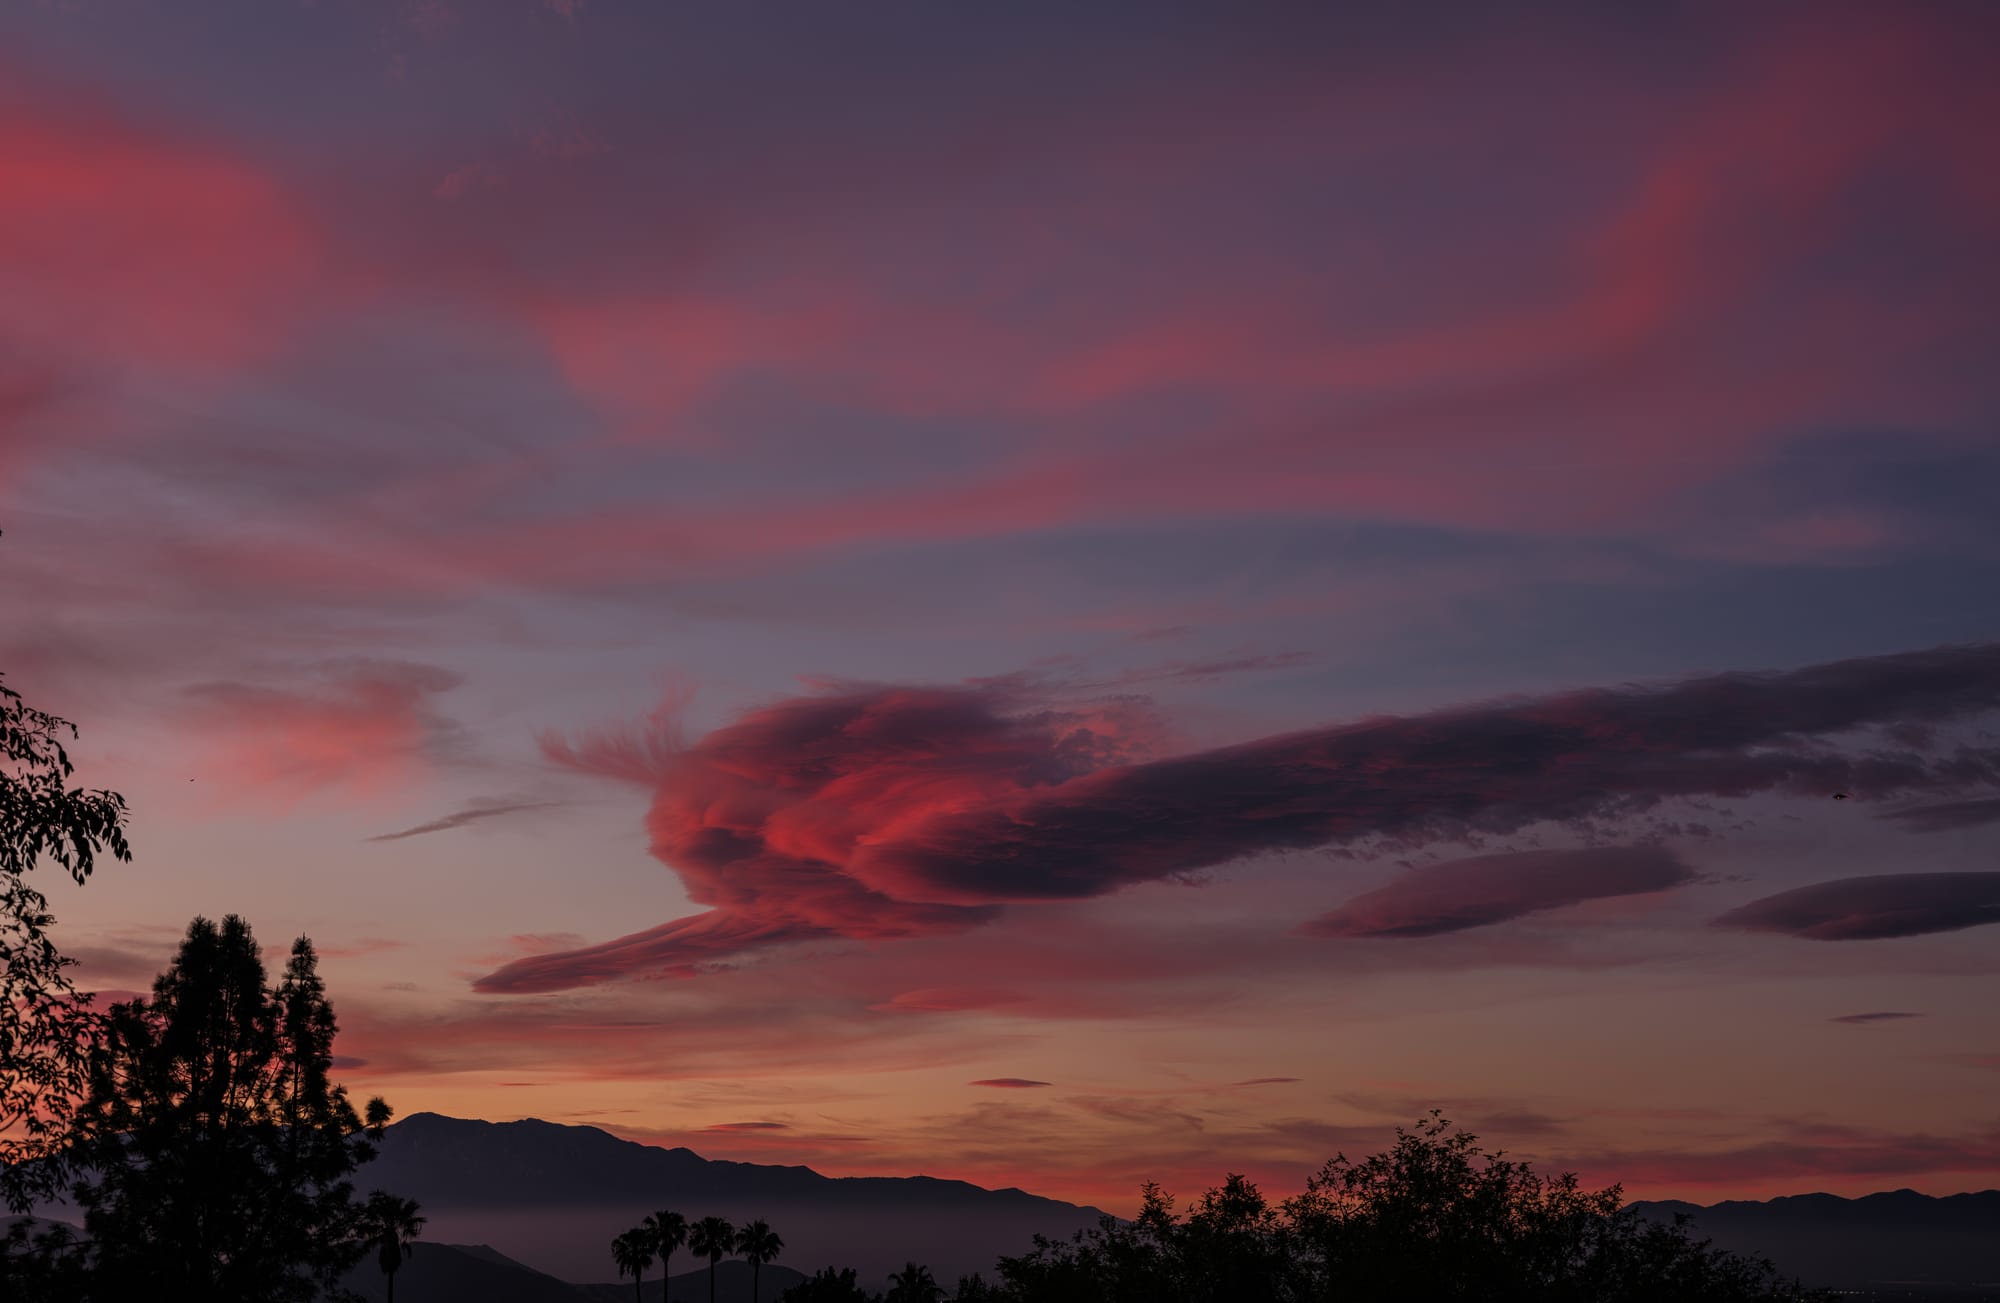
Finally, orange began to illuminate the bottom of the lenticular body. Patience was paying off. Lenticulars don't move. They slowly morph.
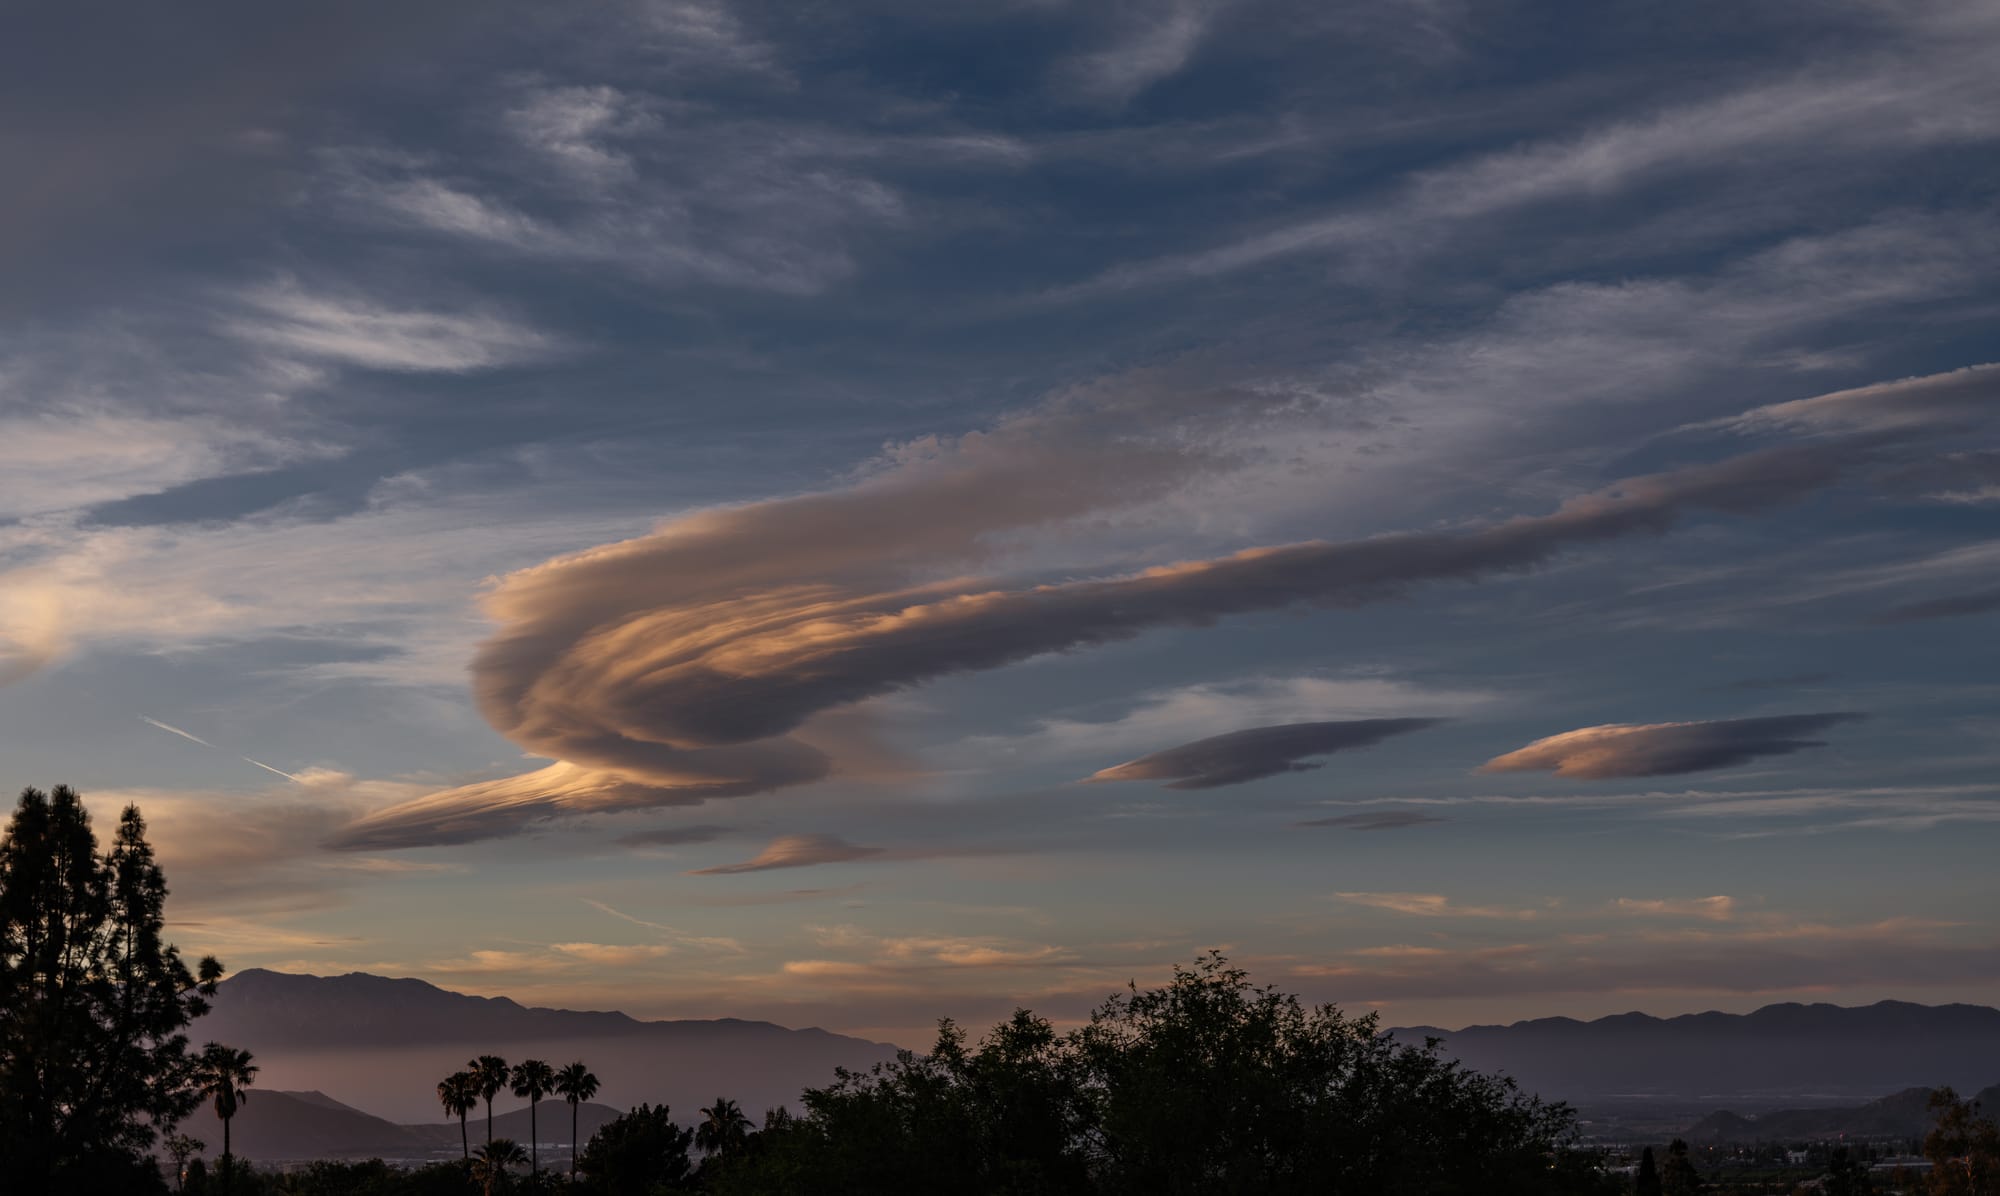
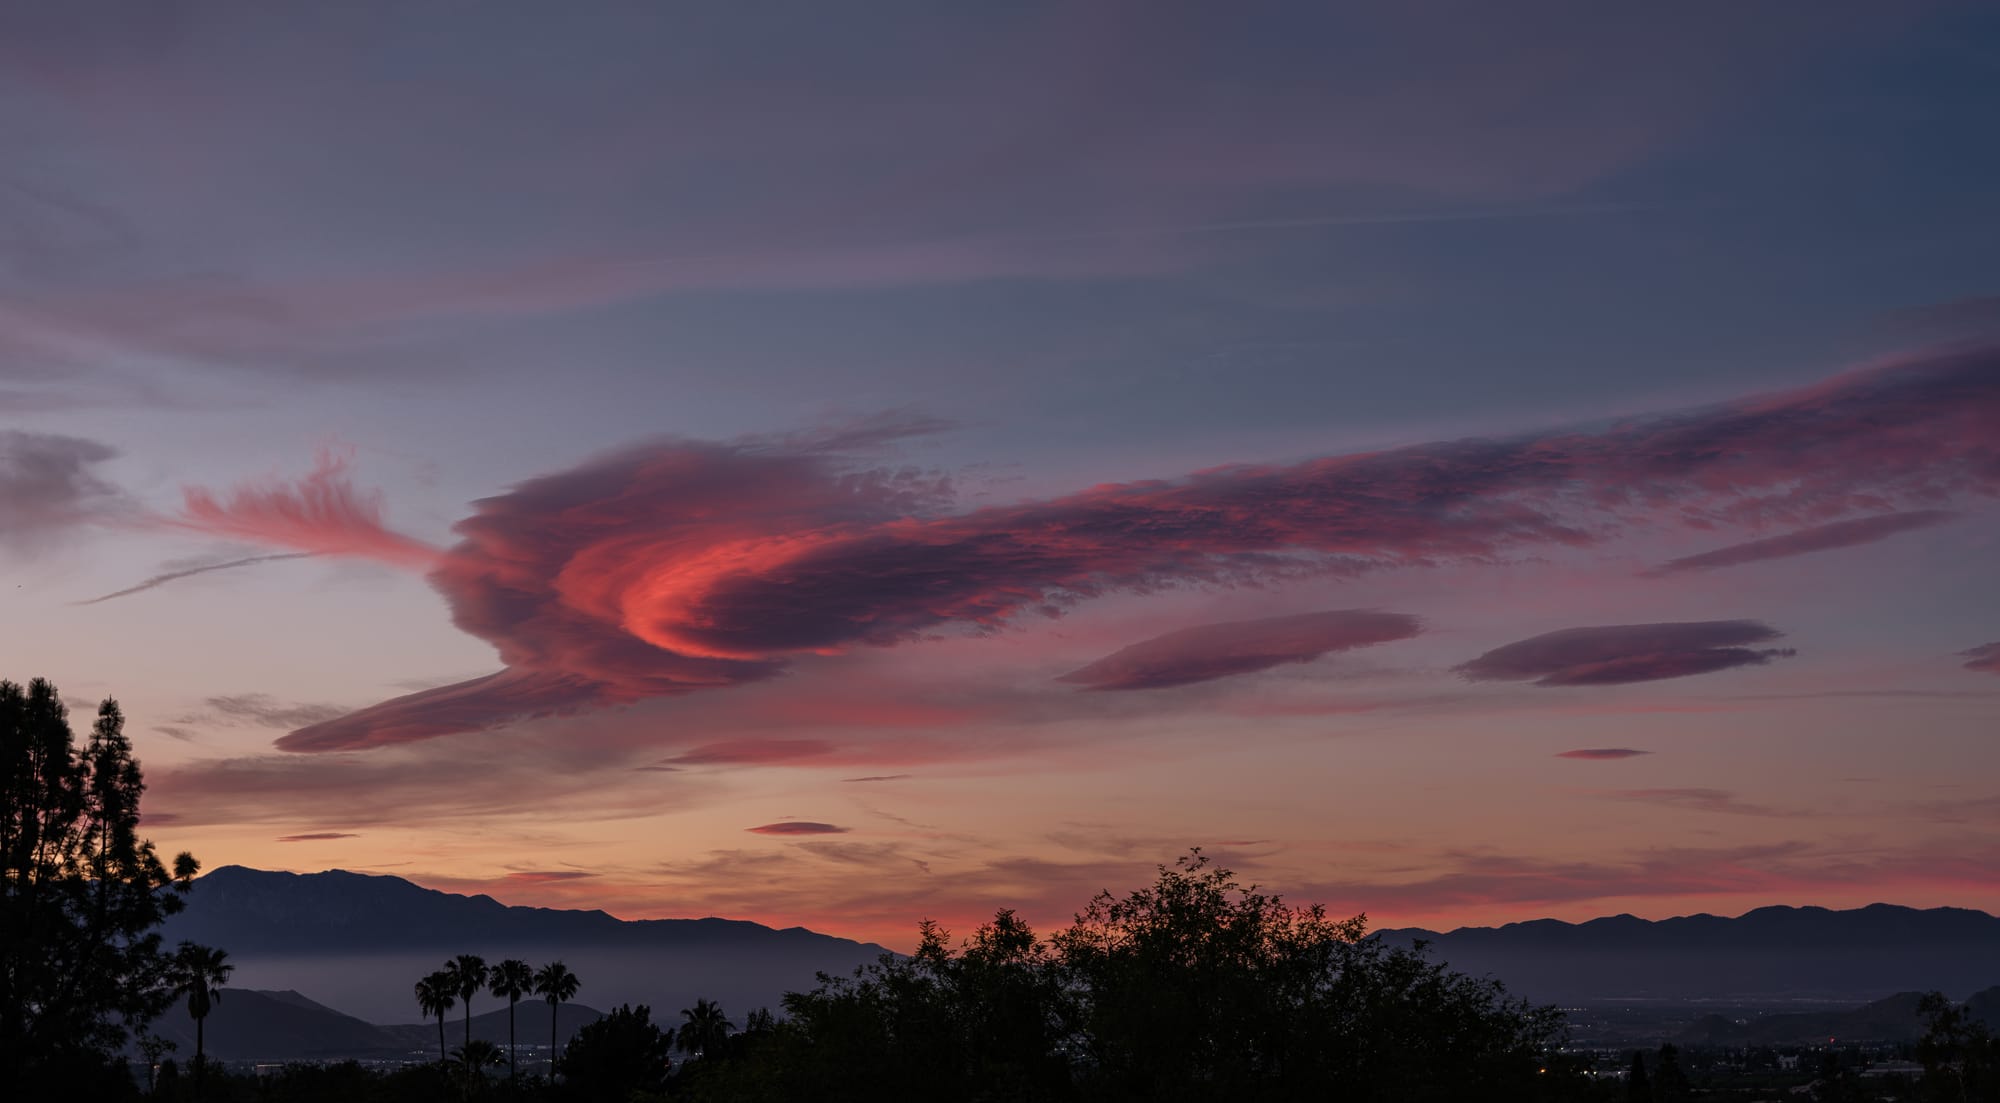
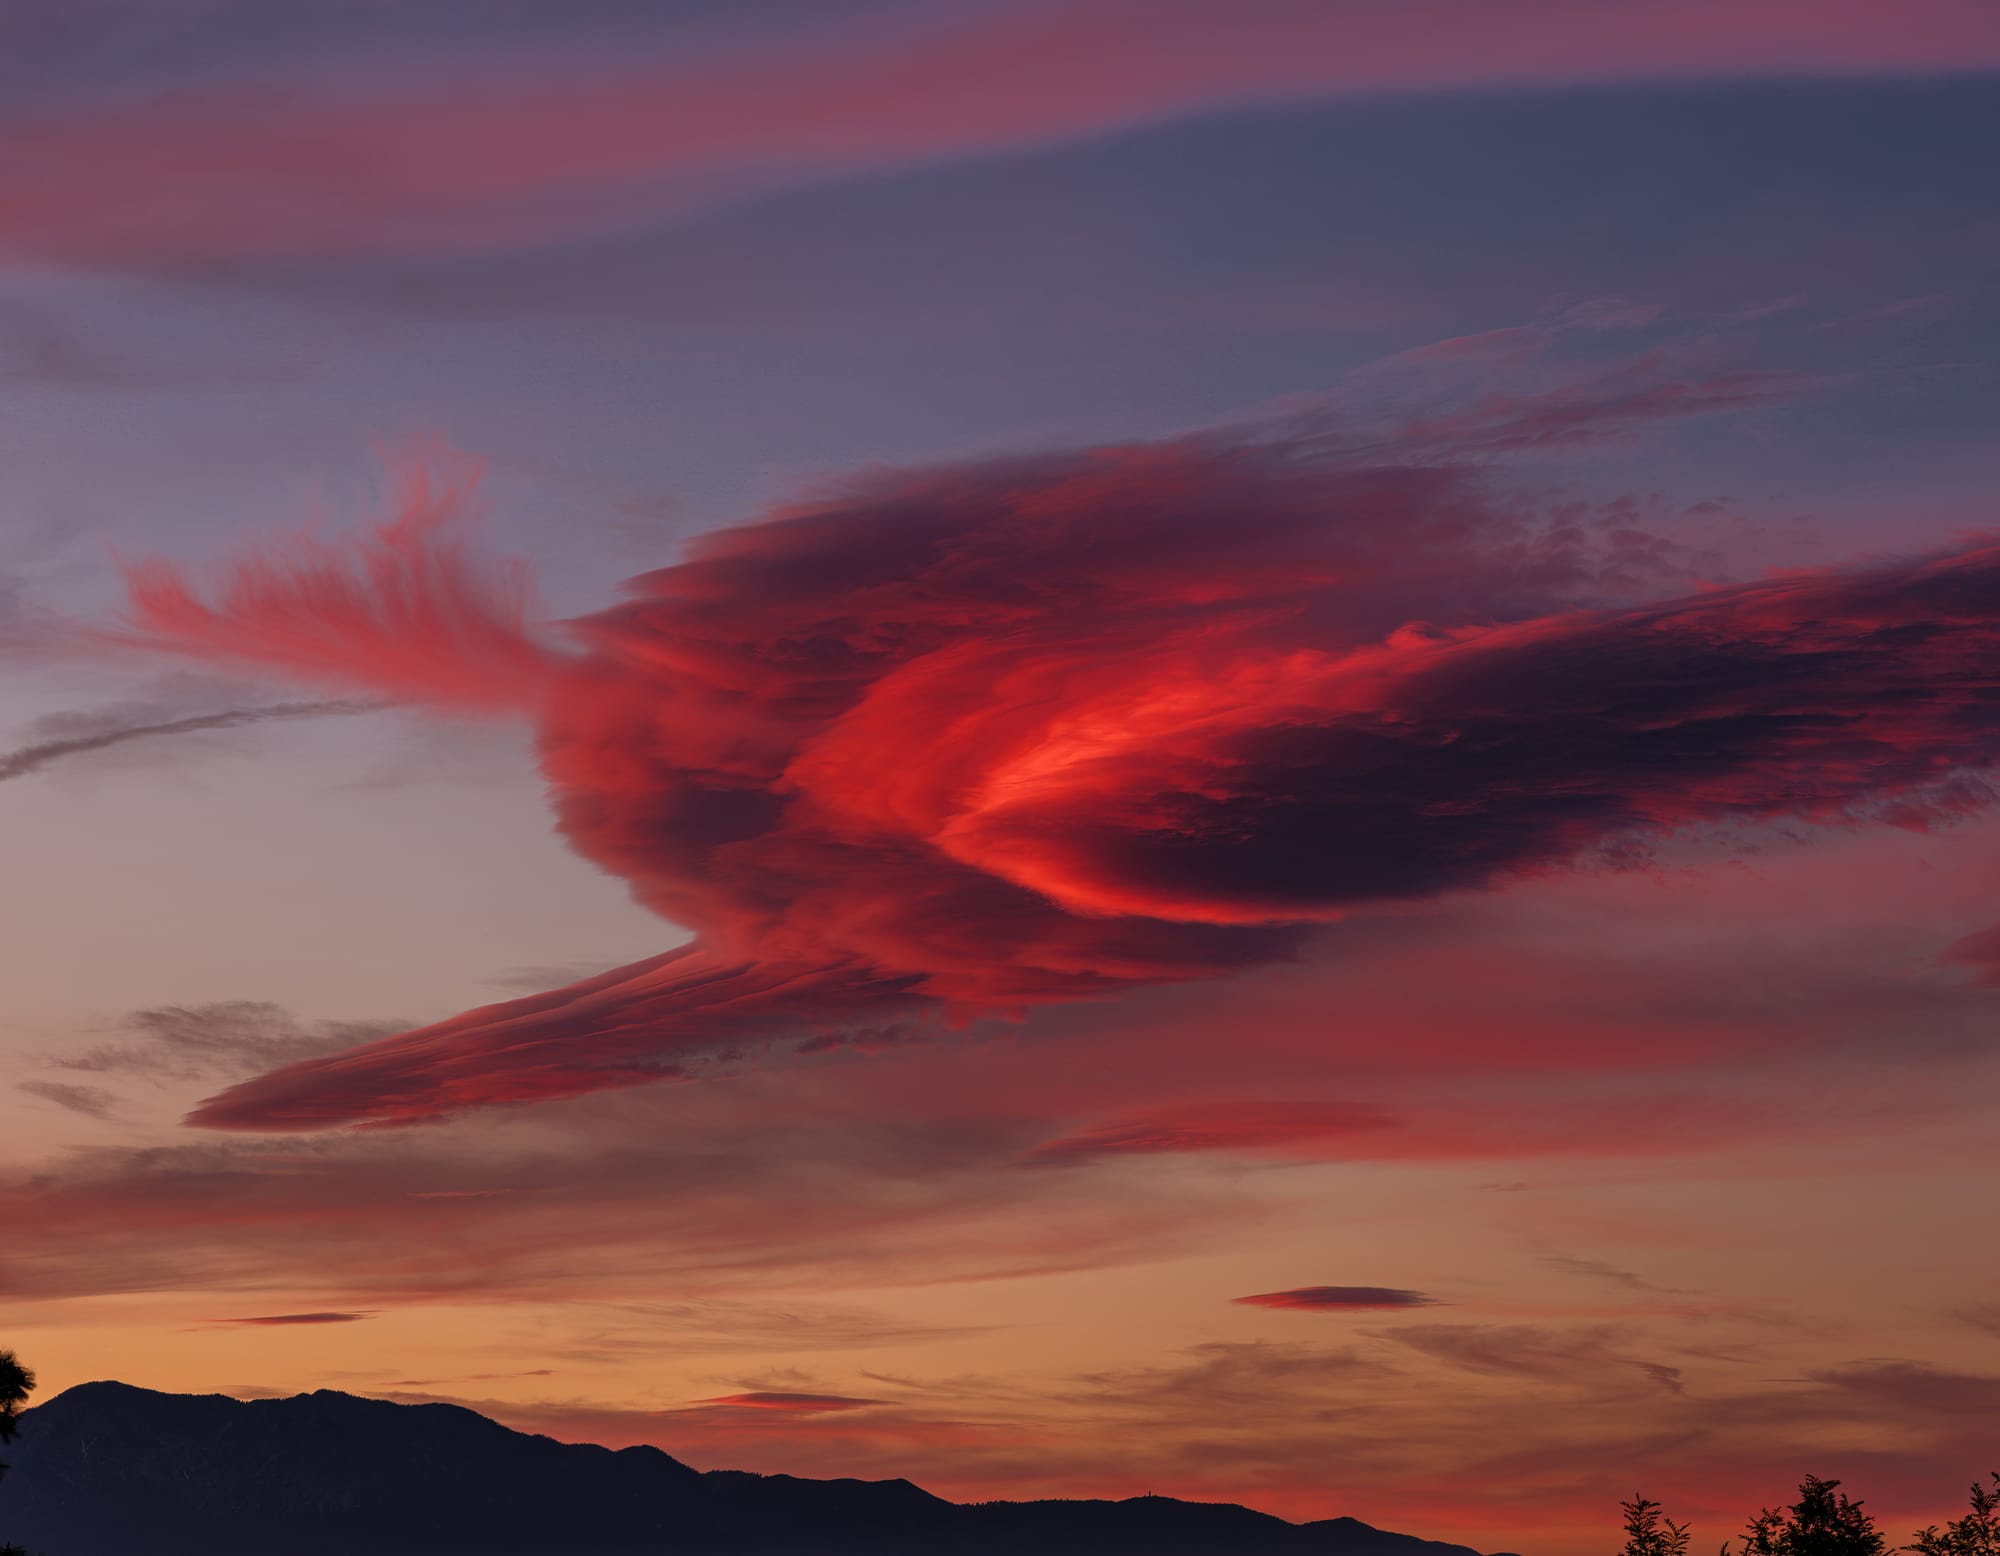
In the twenty-five minutes after the sun dropped below the horizon, only the longest wavelengths of light — deep reds and magentas — could still reach the high-altitude moisture. The lenticular's stacked layers ignited into a vivid, fiery red, each band glowing at a different intensity moment to moment. Nearby clouds at lower and middle elevations held their own quieter pinks and fading oranges. The sky became a layered arrangement of color, cool to warm, subtle to bold, all anchored by that single motionless cloud.
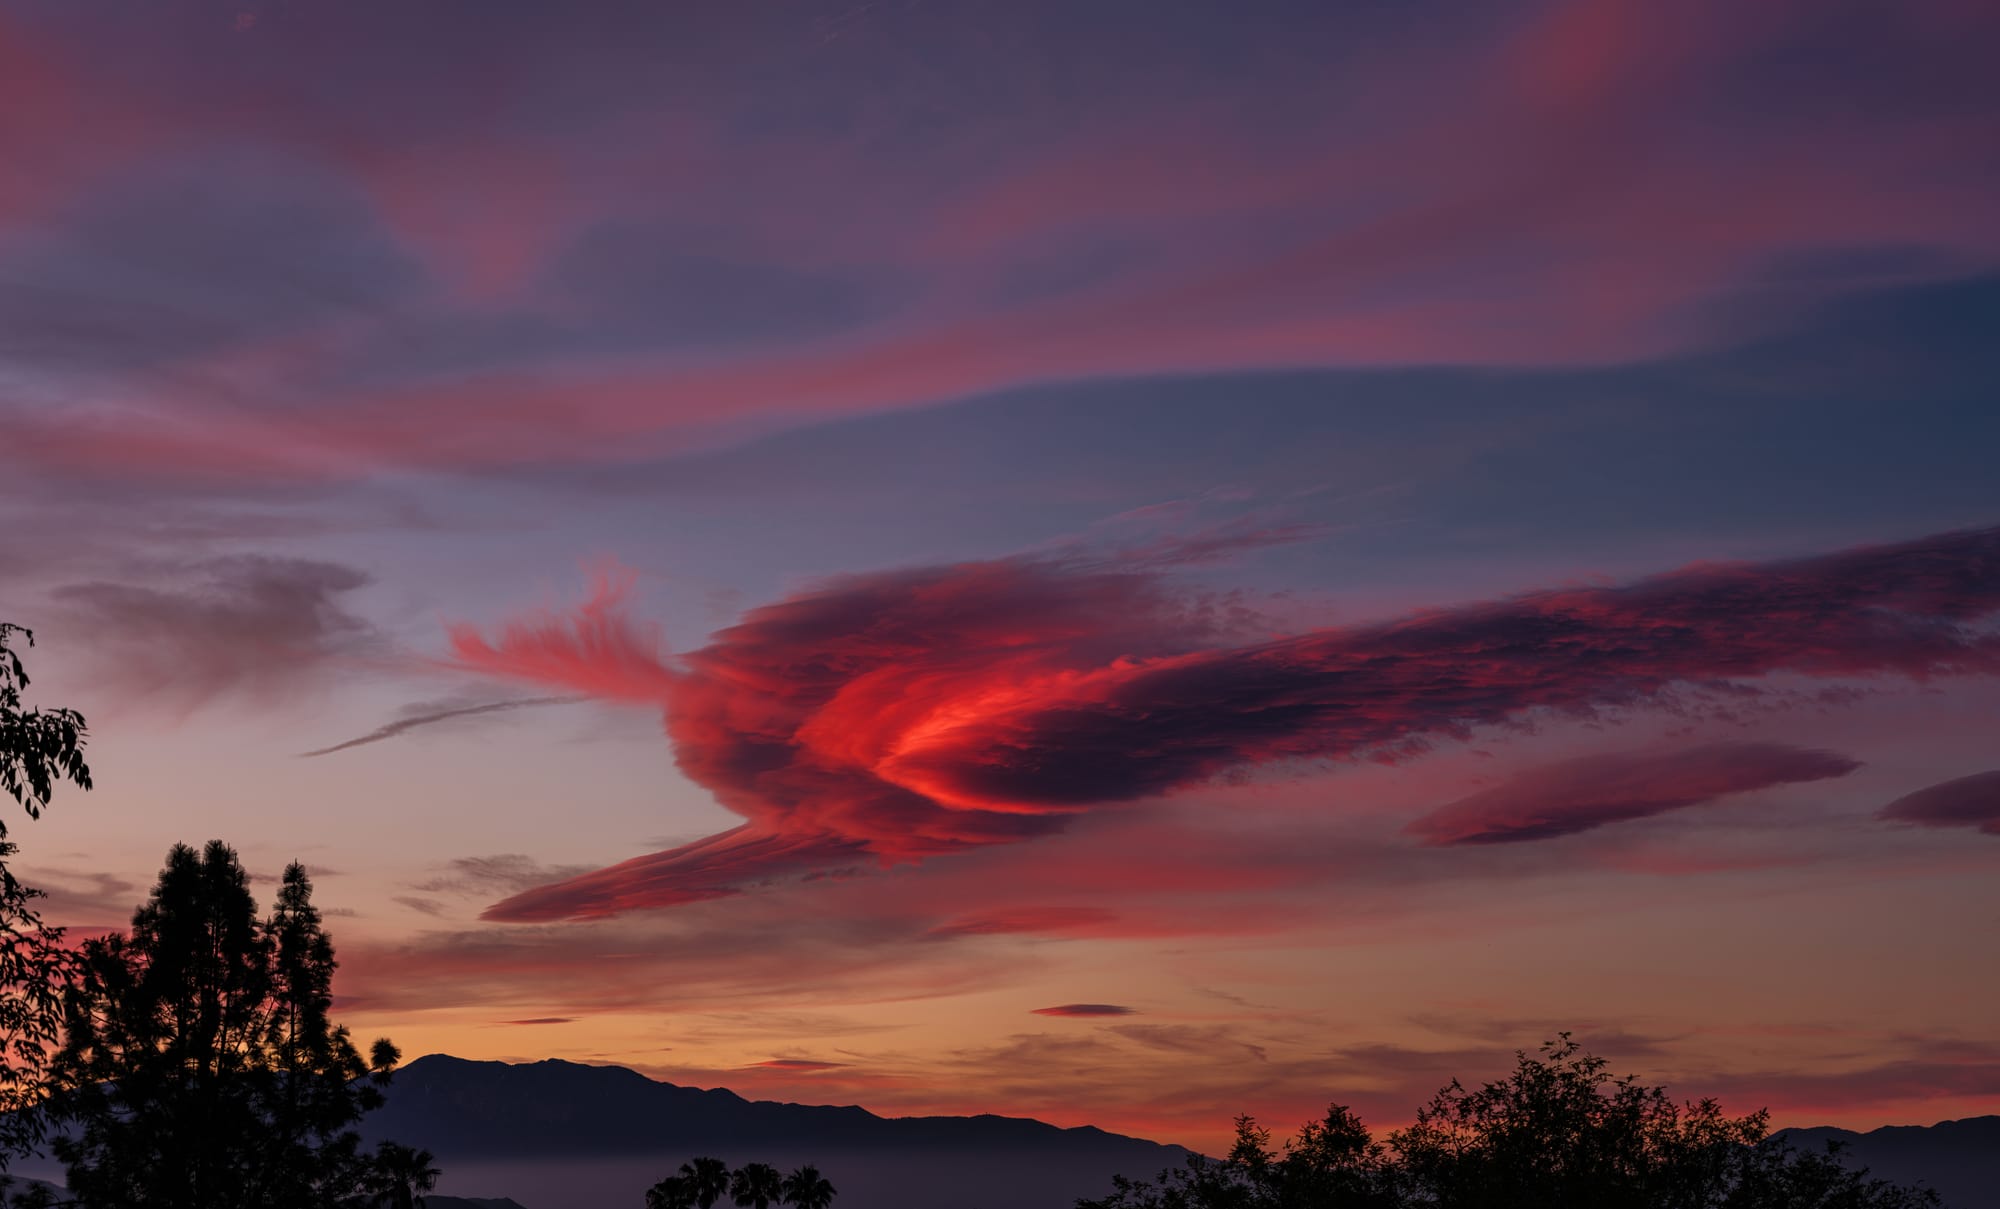
A closer view shows the cloud ablaze in color.
After the most vivid moment, the light began to dim slightly, but the colors remained.
But the sunset wasn't yet ready to yield its impact. Other high clouds began to take on color as the lenticular cloud itself started to fade.
Finally the colors across the entire sky began to soften — a remnant of a series of atmospheric changes that had yielded a vivid light show.
The takeaway for photographers and casual sky-watchers alike: don't leave early. Experience demonstrates that the minutes well after sunset routinely produce richer, more dramatic color than the sunset itself. And when nature hands you something as uncommon as a lenticular cloud at golden hour, patience isn't just helpful — it's the price of admission.
The sky has been putting on this kind of show since time immemorial. Witnessing and documenting it is a treat our ancestors enjoyed long before cameras existed — we just get to take it home with us.
Show up early, stay late. Arrive at least 20 minutes before sunset. Stay at least 25 minutes after. The best color almost always comes post-sunset.
Stabilize your camera. A tripod, a wall, a beanbag on a car roof — anything beats handheld as the light fades and exposures get longer.
Underexpose slightly. Pull exposure compensation down ⅓ to ⅔ of a stop to deepen colors and hold highlight detail. On a smartphone, tap the sky and drag the brightness slider down.
Turn off the flash. It does nothing for a sunset except confuse your camera's metering.
Lock focus and exposure. On a phone, tap and hold the sky to lock settings so the camera doesn't re-adjust between shots. On a dedicated camera, use manual or aperture-priority mode.
Shoot both orientations. Tall cloud formations can look striking in portrait. Don't commit to one framing for the entire session.
Include something in the foreground if you can. A mountain silhouette, a tree line, or a body of water adds depth and scale that pure sky shots lack.
Set white balance to Daylight or Cloudy. Auto white balance tends to cool down the warm tones you're trying to capture.
Keep shooting the entire time. Colors shift gradually and unpredictably. Shoot every minute or two across the full window. The frame you almost didn't take may be the best one.
Go easy on editing. If you're pushing saturation hard in post-processing, you've gone too far. Minor contrast and vibrance adjustments are usually enough. Let the sky do the work.
By Bob Sirotnik

The meeting is the latest in the Fairmount Forward series, which is shaping a long-term master plan for the city's most visited park.

A summer of concerts, drone shows, murals and illuminated landmarks will mark the semiquincentennial from May through December.

A series by Anthony Solorzano exploring Riverside through the eyes of a transplant, as the memory of a hometown slowly fades.


Teresa Buelna's shop on 12th Street grew from thrifted tubs of fabric into a creative hub for the community.
Let us email you Riverside's news and events every morning. For free!